過去
Xcode一直以來都不支援模擬器接收推播
當要測試的時候,僅能使用實機來做驗證
相當麻煩!
條件
註冊通知並請求權限
AppDelegate.swift
1
2
3
4
5
6
7
8
9
10
11
12
13
14
15
16
17
| import UIKit
import UserNotifications
@UIApplicationMain
class AppDelegate: UIResponder, UIApplicationDelegate {
func application(_ application: UIApplication, didFinishLaunchingWithOptions launchOptions: [UIApplication.LaunchOptionsKey: Any]?) -> Bool {
registerForPushNotifications()
return true
}
func registerNotification() {
UNUserNotificationCenter.current().requestAuthorization(options: [.alert, .sound, .badge]) { (granted, error) in
print("\(granted)")
}
}
}
|
寫一個模擬的通知內容並儲存附檔名為.apns的檔案
Simulator Target Bundle必須要修改為對應的BundleId
1
2
3
4
5
6
7
8
| {
"Simulator Target Bundle": "對應的軟體BundleID",
"aps": {
"alert": "測試",
"sound": "default",
"badge": 1
}
}
|
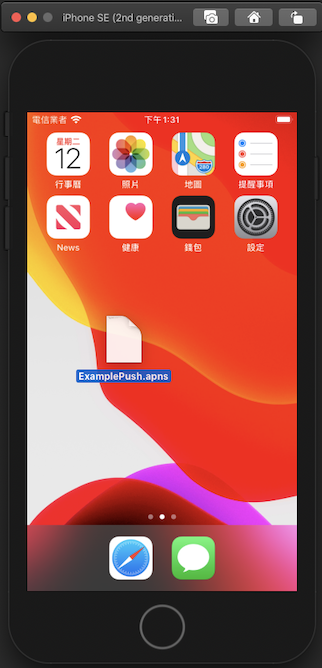
寫好之後儲存在桌面命名ExamplePush.apns
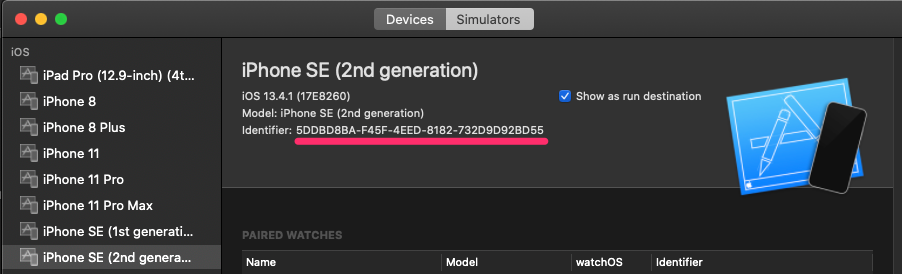
複製模擬器的UDID
方法1 - 終端機輸入
設備id替換為模擬器的UDID
應用id替換為bundleid
1
| xcrun simctl push 設備id 應用id ExamplePush.apns
|
方法2 - 直接拖拉
幹,誰再跟我說Xcode難用
你他媽人家有在進步啦!